

Posted By
Marfil Tiles
Published Date
28 December 2024
Full-body vitrified tiles can enhance the look and feel of any space with their luxurious appearance and glam. However, perfect cutting and installation are the magic behind their eye-catching appeal.
Cutting tiles might look easy from a distance, but it is a purely methodological task that requires extreme care and professionalism. A small mistake can ruin the overall aesthetics. Thus, we have brought you a step-by-step guide for cutting full-body vitrified tiles without chipping or cracking.
As a no-brainer, measuring and marking the tiles is the very first step. You can use a measuring tape to determine the dimensions. Mark the cuts with a washable marker or pencil, but make sure they are clean and clearly visible.
For marking straight lines use a ruler. Cross-verify the dimensions to ensure precise cuts and minimal wastage. This simple step will make your task much easier and straightforward.
Make the correct cutting tool choice to ensure accurate cuts and less waste. Tile sizes, materials, and toughness all affect the tools used. Knowing the proper fit is therefore essential.
Full-body vitrified tiles are typically cut with wet saws. For delicate cuts, these cutters with water-cooling systems and diamond-tipped blades are ideal. On the other hand, small tiles can be cut with a motorized tile cutter. It is a great option for low-effort, crisp cuts and tiny projects.
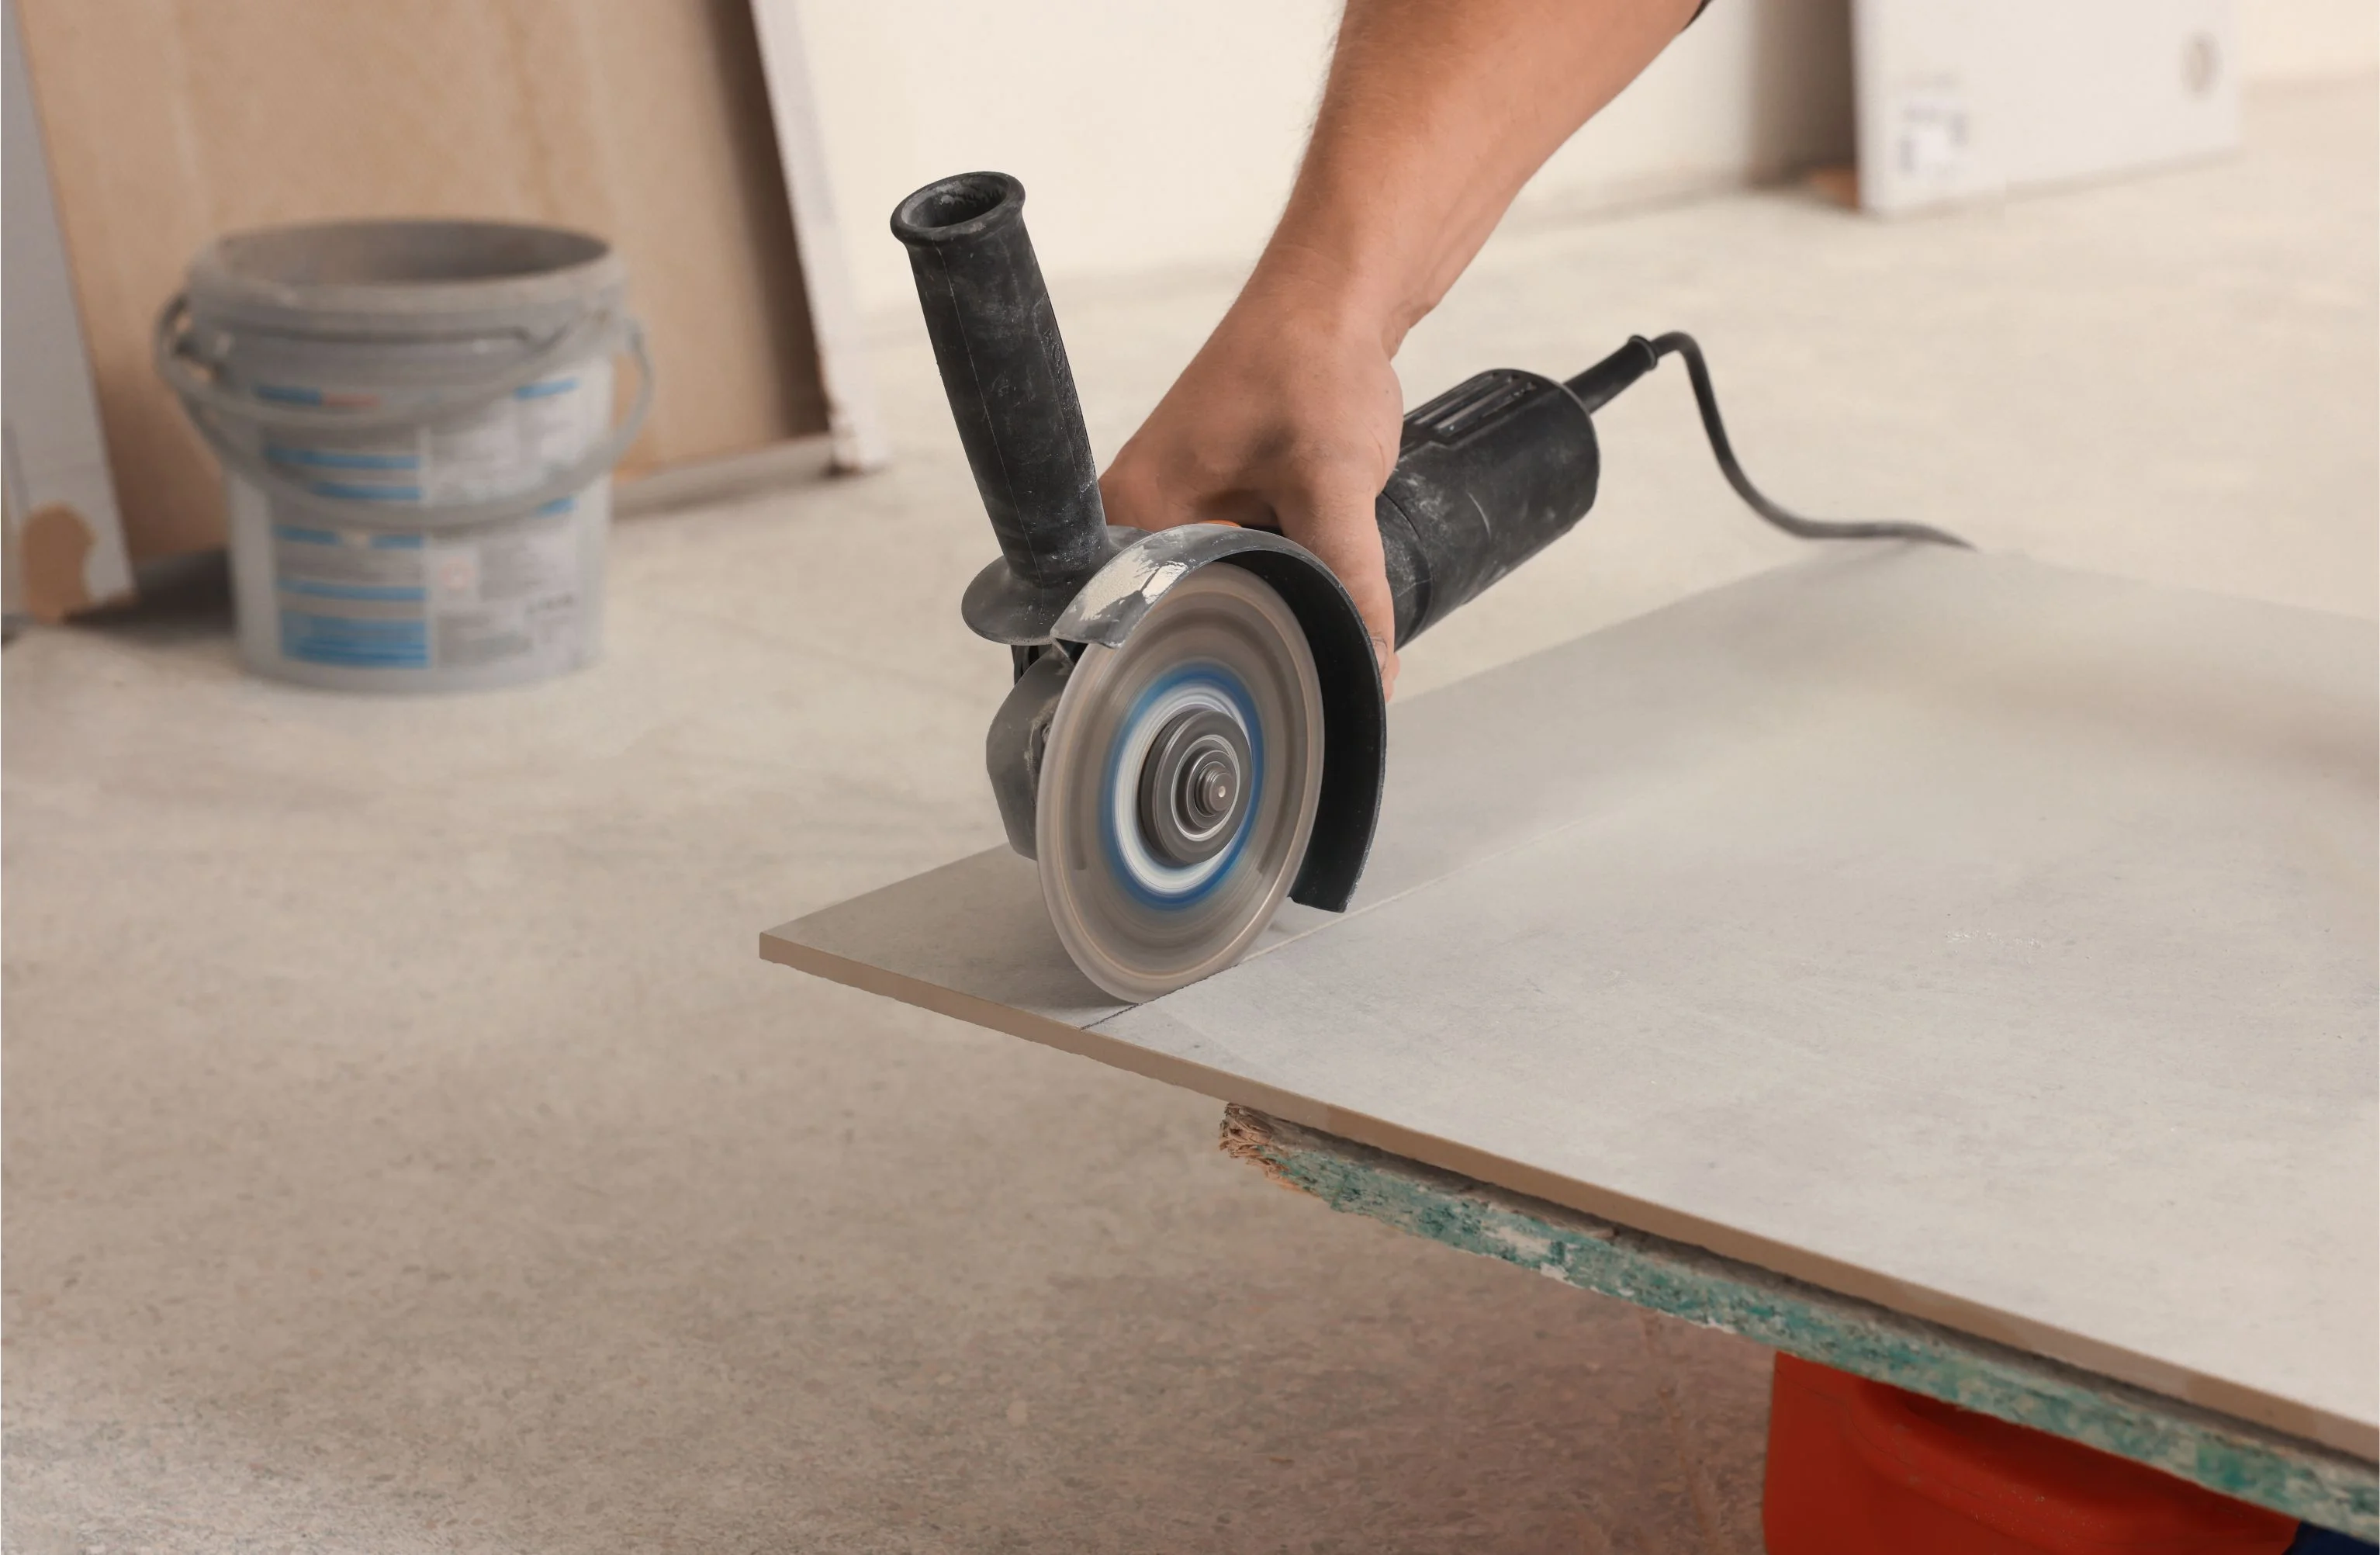
In addition, curved and intricate cuts are made with an angle grinder equipped with a diamond blade.
Tile cutting can be risky if the right safety measures are not observed. Protect yourself by wearing safety goggles to shield your eyes from flying debris and dust. Use gloves to enhance your grip on the tile and defend your fingers from sharp edges.
A dirt mask is crucial, mainly with the use of gear like an angle grinder or wet saw, to prevent inhaling fine particles. Also, work in a well-ventilated area to minimize exposure to dust and fumes. By prioritizing protection, you can recognition on reaching precise cuts without compromising your well-being.
Instability is one of the most common reasons behind the chipping and cracking of tiles during cutting. Thus, securing the tiles and stabilizing them at one place is necessary during the cutting.
You can use clamps or a designated tile-cutting station for greater stability. Hold the tiles in the right position, but never apply too much pressure.
In order to cut the tiles easily, scoring is a crucial step, especially when using guiding tools. Put the tile in a manual cutter and line up the cutting wheel with the designated line to score it. Push the wheel across the tile in a single, fluid motion while applying consistent, continuous strain.
The tile will become weaker and more prone to cracks if the same line is scored more than once. When pressure is applied, scoring makes it easier to break the tile by creating a weak factor next to the designated line.
Once you have scored the tiles, the next step is setting the cutter. In this scenario, we are taking a wet saw to cut the full-body vitrified tiles. First, we will fill the reservoir with water and align the blade along the score line.
It would be great if you could test the mechanism on one or two scrap tiles to ensure perfect cuts.
Now, this is the most crucial step. A methodological approach is required to cut the tiles without any mistakes. After setting the cutter, slowly and steadily push the tile through the blade. Make sure to apply gentle pressure to avoid chipping or cracking of the tiles.
You can gradually increase the pressure to achieve the ideal cut. However, it's recommended to keep the pressure steady to avoid damage.
After cutting the tiles, the edges might appear rough and sharp. It can create difficulties during installation.
Thus, smoothening the edges is necessary after cutting the tiles. Use sandpaper to remove the unevenness and sharpness of them. Ensure to run the sandpaper evenly along the edges for better results.
With the right tools and methods, it is possible to learn how to cut tiles without breaking them. Following this step-by-step guide will help you achieve neat, distinctive cuts that enhance the overall quality of your work.
Every stage of the process, from selecting the right tools and fastening the tile to attempting to take safety measures and smoothing the edges, plays a crucial role. You can tackle any tiling work with confidence and produce expert results with practice and attention to detail.